Monday, 19 December 2011
0901877 Just A Note To Marker
NOTE: We have all made an equivalent contribution to the group blog, however to see what each group member has completed individually, I have asked for all posts to begin with the students SID number. This is intended to help work out who has posted what.
Saturday, 17 December 2011
0907803 Slice Tool, The Old to The New


0907803 Buildings

0907803 Sinks and Tapes


0907803 Toilet

The toilet was tricky. I created the bowl by using a box with plenty of vertices so I could manipulate them as I wanted. First I shaped the outside of the bowl by selecting the middle row of vertices and, with the soft select on, pulled them closer together. This created the nice curve that makes the bowl slop like an hourglass. The inside of the bowl was created using a similar method. I simply selected the middle vertices on the top of the bowl and, with soft select on. I dragged it down, making sure that the overflow from the soft select left and even rim around the top of the bowl. The back is simply made of a rectangle with a chamfer applied to the top of it, then it simple rest on top of another rectangle that links it to the base.

I then attached all of these together in order to create one object and then applied the symmetry tool to create the hole toilet, I needed to do this know so I could work out how big the seat needed to be.

The seat was created the same way as the arc gravestones however with more vertices. Also as the seat needed depth, after I used the soft select tool to move the vertices into an arc, I applied the extrude tool. However as the soft select made the back of the seat curve slightly as well, rather then retry to so it with a flat edge, I simply attached a thin box to the back of the seat.

This is the seat with the symmetry modifier applied to the rest of the toilet. I kept the seat a separate object so we could move the hinge should we which to animate it opening and closing.

The handle was simply created out of three cylinders of different sizes attached together, and then the gyro moved off that it would rotate around the section attached to the toilet. Again I kept this a separate object so it would be easier to apply a different texture and so we could animate it moving if we wished.


This is the toilet with the texture applied and a turbo smooth applied to the seat. All in all I am quite proud of this as it looks quite realistic despite its relative simplicity.
Friday, 16 December 2011
0907803 - Creating the roof


0907803 - Gravestones

There were two types of gravestones I created for the Graveyard next to the guildhall. They were both the traditional gravestones of a Cross and an arched plaque. The cross is made from two simply planes with only 1 face on each. As you can guess I simply crossed the smaller one over the larger at an appropriate height then attached them together and applied a stone texture with a bump. The second grave stone was created out of one single plane with 5 vertices along its length. Then using the soft select tool I moved the middle two vertices up, this arced the others into a nice curve. Then I simply added the same stone texture as before and it was done. As I knew that both of these where going to be replicated several times each I kept them both flat, rather than extruding them in order to keep the overall number of polygons as far down as I could.

0907803 Trees

The trees in the scene are simply created with the foliage tool in 3D MAX. They just needed there leafs and fruits removed in order to fit with the winter theme. This was actually quite lucky as the extra faces and polygons the leaf’s created was a grate drain on the computers to render them.

0907803 Road and paths
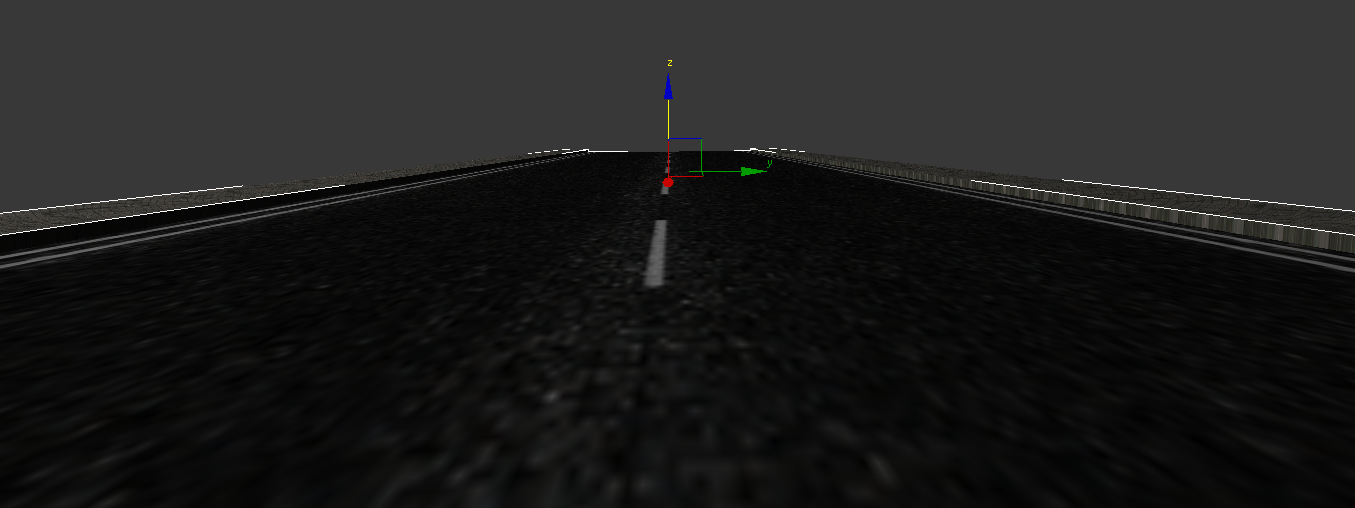
The road and the paths where created again using planes and textures with bump applied. The only real difference between these two and the other planes the scene is that there textures had to be heavily modified in Photoshop before they could be applied. The road texture was especially difficulty as it was not tiled needed the lines added to it in order to make it work. I also extruded them and turned them into 3d boxes. This was mainly important for the paths as they needed to be higher up then the road on account of the sidewalk.

0907803 - Grass

The grass is simply a plane that I created with 10 vertices in both width and length. Then with the soft select tool applied I moved these vertices up and down to create a slight bumpy and hilly ground. Then it simply had a grass texture applied along with the bump tool to give it the look of a grassy plane. Much like with the sky, when the snow starts to fall, the texture of the grass needed to change to match the scene. This was achieved my creating a duplicate of the plane slightly on top of the original. This new plane was given a snowed on grass texture and then hidden from view completely with the slice tool. Then when the timing was right the slice tool was pulled down and the plane was reviled much like the sky. This created a nice and smooth looking transition between the two planes.

0907803 - Settleing the snow

It took a while to figure out how to stop the snow (which 0901877 created) from falling through the guildhall and instead settle on the roof. I eventually discovered the Deflector tool. When this tool was linked to the snow generator, the particles reflected of it. In order to make them settle on top of it I had to reduce the bounce values in the deflector to zero and then also apply a gravity tool to the snow itself, so the particles would be pulled to the deflector. This however made all the snow in the scene drift one way so I had to create a replica of the snow generator and remove the gravity affects. This made the snow much more natural. Then I had it follow the outside camera so that it was always covered in snow. However because the camera was so close to the snow fall, and the way the snow tumbled, they occasionally drifted into shadow and became pitch black. So in order to stop this I created another omi light behind the camera and made it so it only affected the snow particle. This removed the back shadow effects on them quite effectively.


0907803- Creating the sky

The sky was created simply my using a large sphere with the faces reversed. Then a cloudy texture was applied and an omi light was added in order to give off light inside the sphere. A slightly larger sphere was also created and again had its faces flipped so the texture was on the inside. Then a much more clouded texture was applied to it and it enveloped the original sphere. Then using the slice tool I was able to create a transition between the two for when the snow stared to fall.

Wednesday, 7 December 2011
0907440 - Camera Path Plan (First Floor)
This is the continuation of the internal camera path sketches. The camera comes up the stairs from where it left off in the previous sketch (but will be made as a single animation), into the reception hall. After a look around here it will show where the new toilets will be placed, before returning back the way it came and moving past the chimney breast it will move into the Guildhall. It will look around here then move into the kitchen. Moving back out of the kitchen a possible finish would be stop so the camera is looking out of one of the first floor windows.


0907440 - Camera Path Plan (Ground Floor)
The following is a little sketch that I have made to show a plan for how the camera will move through the ground floor of the building. This does not include any path the camera will follow outside the Guildhall, and a second sketch will be produced for the first floor. The camera starts in position:
X: -639.258
Y: 175.931
Z: 48.359
It rotates around the shop then moves into the first museum room, angled to get a look at the map, and then will move into the larger of the museum rooms, getting a good look at the contents. It will leave the museum via the glazed walkway, and enter the library. After a look around here the camera will leave the room, coming back into the glazed walkway area and will proceed to the stairs.

Subscribe to:
Posts (Atom)